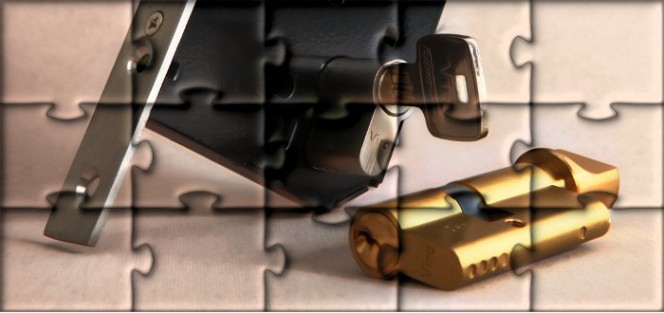
Amongst the many advantages offered by European profile cylinders there is also that of being able to easily change the cylinder if you want to install a better one or if the existing one is causing problems. In fact, fitting and removing this type of cylinder is very easy; here is a step by step guide.
How to install a European profile cylinder
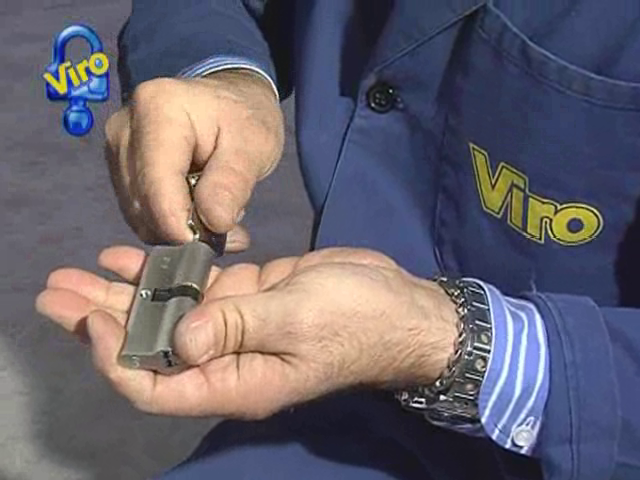
- As we have seen for the profile cylinders, with the key extracted the cam can enter completely into the body (universal cam) or protrude sideways (e.g. DIN standard cams with 30° anti-withdrawal). If the cylinder is of the second type, the key is inserted and rotated just enough to retract the cam inside the cylinder body.

Before inserting the cylinder ensures that cam does not protrude from the body, possibly causing it to rotate with the key.
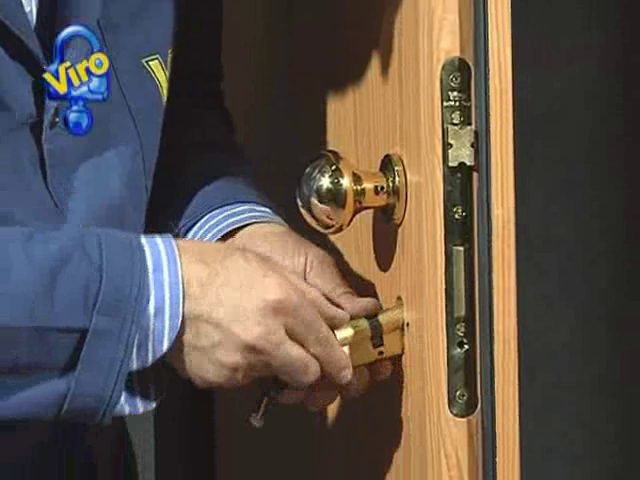
- The cylinder is inserted in the shaped hole which passes through the door and the lock. The cylinder is in the correct position when, turning the key, it is possible to move the latch and/or the dead-bolt.
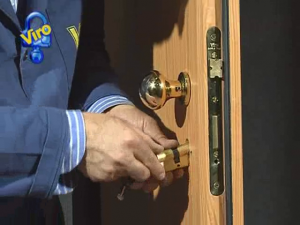
The cylinder is inserted in the lock and the position is found with a throw.
- At this point the cylinder is screwed in place.
To do so, you can either reuse the existing screw, if this is in a good condition, or the new one which was supplied with the cylinder can be used. If the screw is too long it must be cut to the correct size (equal to the distance between the lock plate and the centre of the shaped hole for cylinder). The screws supplied with the Viro cylinders have a metric thread and have pre-cut notches which facilitate the shortening operation.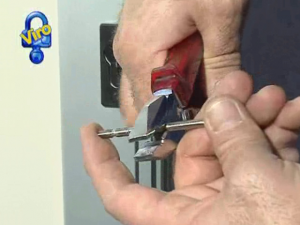
If necessary, the fixing screws must be cut to size.
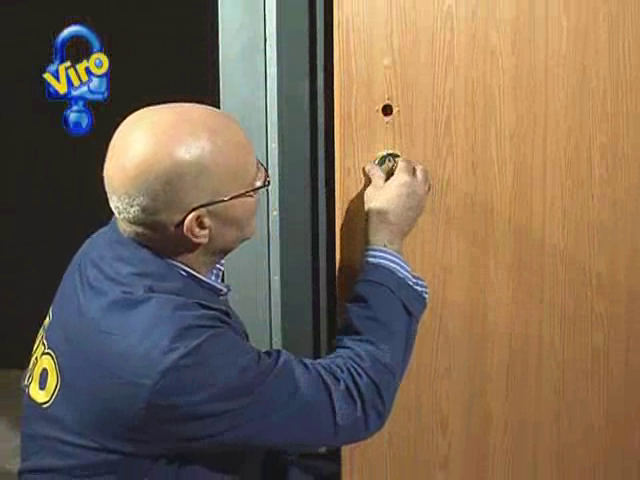
- The fixing screw is inserted in the hole on the lock plate, at the height of the cylinder housing, so that it can be screwed into the threaded hole of the cylinder, positioned centrally beneath the recess where the cam rotates. Obviously, this hole, with the cylinder inserted in the lock, is not visible, but it can be easily found by holding the screw perpendicular to the lock plate.
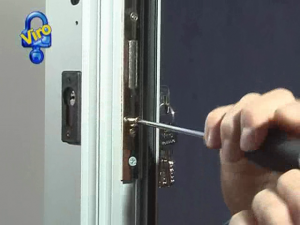
The fixing screw is tightened.
- To complete this operation the decorative escutcheons are fitted inside and outside which cover the hole for passage of the cylinder through the door and/or the external security escutcheon.

The escutcheons and/or the security escutcheon are fitted.


How to remove a European profile cylinder
For the removal, simply repeat the installation operations in the reverse order, so:
- To facilitate the operations at least one escutcheon is removed from the inside of the door (in this way, if there is a security escutcheon the outside, the removal will be simplified).
Remove the escutcheons.
- Unscrew the fixing screw on the lock plate.
Unscrew the fixing screw.
- The key is inserted in the cylinder from the inside, it is rotated very slightly (just enough for the key not to be removed, but not so much that there is the risk that the cam interferes with the escape of the cylinder from the lock) and the cylinder is pulled towards you.
If there is a cylinder with a DIN standard cam with 30° anti-withdrawal, resistance will be felt when an attempt is made to remove the cylinder; it is therefore necessary to turn the key by 30° and hold it in this position whilst pulling the cylinder until the resistance ceases, because the cam has withdrawn into the body of the cylinder and, therefore, the latter can be taken out.Take out the cylinder.
- Remove the cylinder.
The cylinder is removed.
These operations are clearly visible in this video:
As you can see in the video, the entire installation sequence is very simple and takes less than a minute. But if you encounter difficulties, you can always ask for help in the comments section!
You can see the catalogue of our European profile cylinders here